Snowshoeing for Beginners: A Comprehensive Guide
Snowshoeing is a wonderful winter activity that encourages people to enjoy the outdoors and stay active during the colder months. Don’t worry if you are new to it—embracing the basics will have you gliding over the snow-covered terrain in no time. In this guide, we will break down the basics of snowshoeing for beginners to help you navigate the snowy landscape with ease.
Disclaimer: This article includes affiliate links. If you click one of them, we may receive a small percentage of the sale at no extra cost to you. Thank you for your support!
Choosing Your First Snowshoes
Embarking on your snowshoeing journey starts with the right pair of snowshoes. As a beginner, selecting the proper ones can make a significant difference in your overall experience. Here are a few factors to consider to help you pick out your first pair of snowshoes.
Types Of Snowshoes
Snowshoes come in various types, each designed for specific terrains and activities.
For beginners, flat-terrain or recreational snowshoes are the best option. These snowshoes tend to come at a lower price point, have no heel lift and have simple, easy-to-use binding systems. Unless you plan to go on a challenging snowshoe adventure that features inclines and declines, these are a suitable style of snowshoe for beginners.
Next up are rolling terrain snowshoes. These would be the next step up from flat terrain snowshoes. They do cost more; however, they have additional features, such as heel lifts and a more aggressive crampon for better traction. These are ideal for flat to moderately hilly conditions.
As you progress, you can explore specialized options like mountain or running snowshoes. These are more tailored towards people who are looking for heavy-duty snowshoes for challenging inclines and icy terrains and aerobic workouts. While we would not suggest them for beginner snowshoers, it’s good to know such things exist!
Consider The Snowshoe Size
Proper sizing is essential for comfort and performance. Snowshoes are typically sized by weight, and each pair comes with a recommended weight range. To choose the right size, consider not only your body weight but also the weight of any gear you’ll be carrying. This ensures optimal flotation on the snow. Most manufacturers provide sizing charts to guide your selection.
If your snowshoes are too big, it can be harder to maneuver and walk, causing more effort and strength with each step. On the other hand, snowshoes that are too small will impact floatation and could cause discomfort.
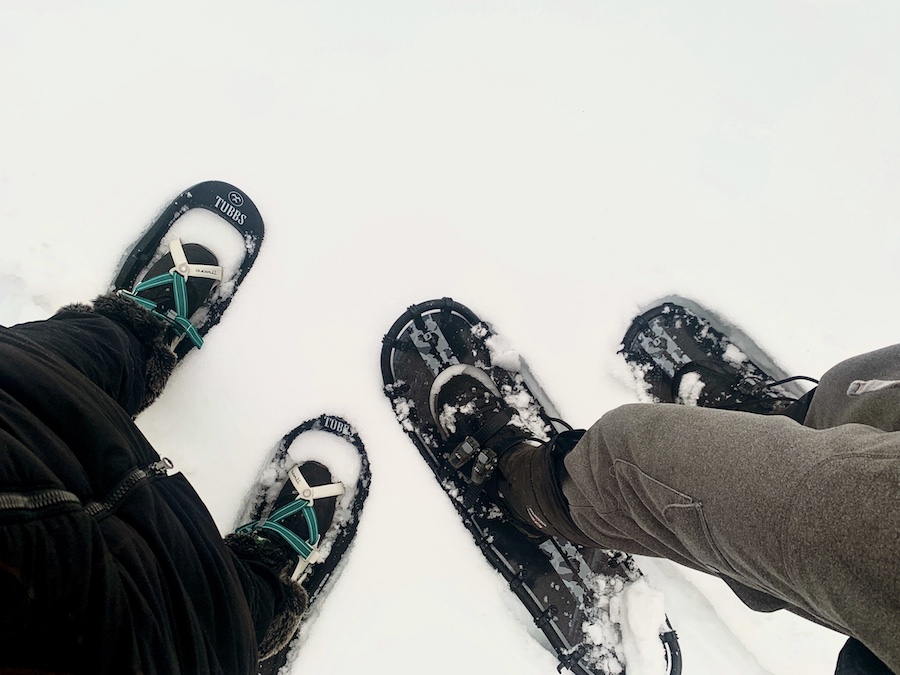
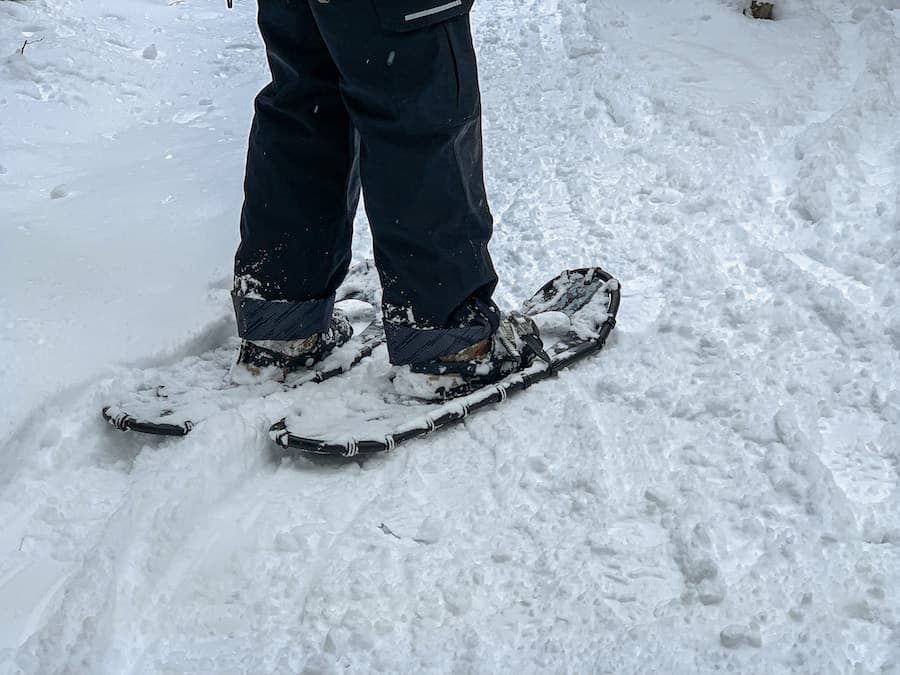
Snowshoe Bindings
Bindings secure your boots to the snowshoes, so it’s essential to ensure a snug and comfortable fit. While there are many different components to snowshoe binding, we are going to focus on fixed vs pivot bindings.
Fixed bindings keep your foot relatively secure to the entire snowshoe and have no heel lift. This means that when your foot lifts, the entire snowshoe frame lifts with it. These provide a more natural stride and are a great option for flat terrains.
Pivot bindings have a heel lift, which allows the tail end of the snowshoe to fall away from your heel when walking. These types of snowshoes help to reduce leg fatigue and prevent snow from being kicked up onto your pants. They are great for all terrains, including ascends and descends.
Traction and Cleat Systems
Traversing snowy and sometimes icy terrain requires reliable traction. Snowshoes come with different traction systems, typically featuring microspikes or ice cleats. For beginners, consider models with well-placed crampons under the footbed and a heel lift for uphill climbs. This provides stability on various surfaces, preventing slips and enhancing your overall control during the adventure.
Durability and Material Considerations
Snowshoes encounter rough conditions, from abrasive snow to rocky surfaces. Choosing durable materials ensures longevity. Aluminum and composite materials strike a good balance between durability and weight. While aluminum is sturdy, lightweight and affordable, composite materials have better grip and are stronger and more flexible. Assess your priorities to find the right balance for your snowshoeing needs.
Renting vs. Buying
If you’re unsure about committing to a pair of snowshoes right away, renting is a practical option. Many outdoor gear shops offer snowshoe rentals, allowing you to try different models before making a purchase. This is especially beneficial for beginners who are still exploring their preferences and snowshoeing style. Once you’ve gained more experience, you can make an informed decision on investing in your own pair.
Choosing the right snowshoes sets the foundation for an enjoyable and comfortable snowshoeing experience. Consider your weight, the type of terrain you’ll explore, and the features that align with your preferences. Now that you have the basics of selecting snowshoes for beginners, you’re one step closer to stepping onto the snowy trails with confidence.
For information on snowshoe brands, check out our article “Top 9 Best Snowshoe Brands On The Market”
What To Wear When Snowshoeing
Dressing properly for snowshoeing involves thoughtful consideration of the winter elements and your activity level. We have outlined a few things to consider to help make sure you’ll be well-prepared to tackle the snowy trails with confidence and comfort, making the most of your snowshoeing adventures.
Layering for Comfort and Versatility
Snowshoeing involves varying levels of exertion, and the weather conditions can change rapidly. Adopting a layering system ensures adaptability.
Start with a moisture-wicking base layer to draw sweat away from your skin, preventing discomfort. Add an insulating layer for warmth, such as fleece or down, and finish with a waterproof and windproof outer layer to shield against snow, wind, and moisture. This layering strategy allows you to adjust your clothing according to your activity level and the weather conditions.
Choosing the Right Winter Apparel
Invest in insulated, waterproof, and breathable outerwear. A durable winter jacket and pants protect against snow and wind, keeping you warm and dry. Look for features like ventilation zippers to release excess heat during strenuous climbs and moments when you need to cool down and outer layers that are treated with either DWR or gore-tex. This helps to repel rain and wet snow, preventing water from penetrating your jacket.
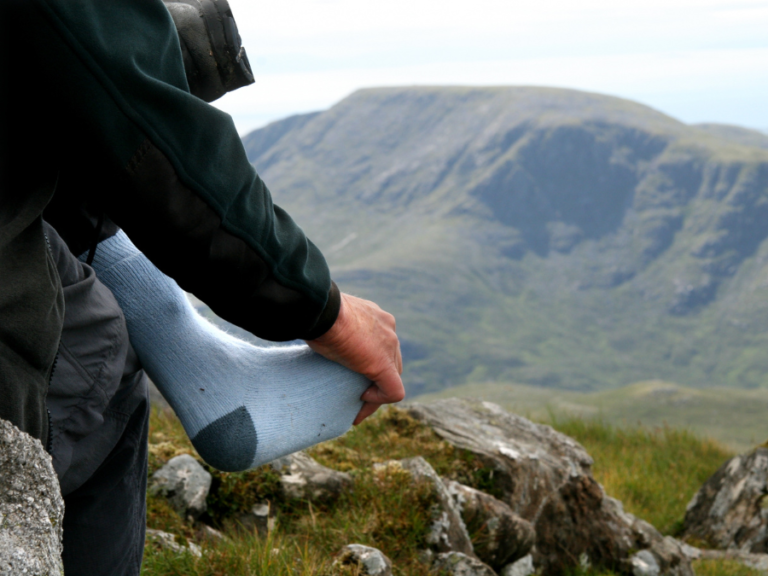
Waterproof, insulated gloves or mittens are important to keep your hands warm, while a snug-fitting beanie or hat prevents heat loss from your head. Don’t forget a good pair of thermal socks and waterproof boots to keep your feet warm and dry.
Eye Protection and Sunscreen
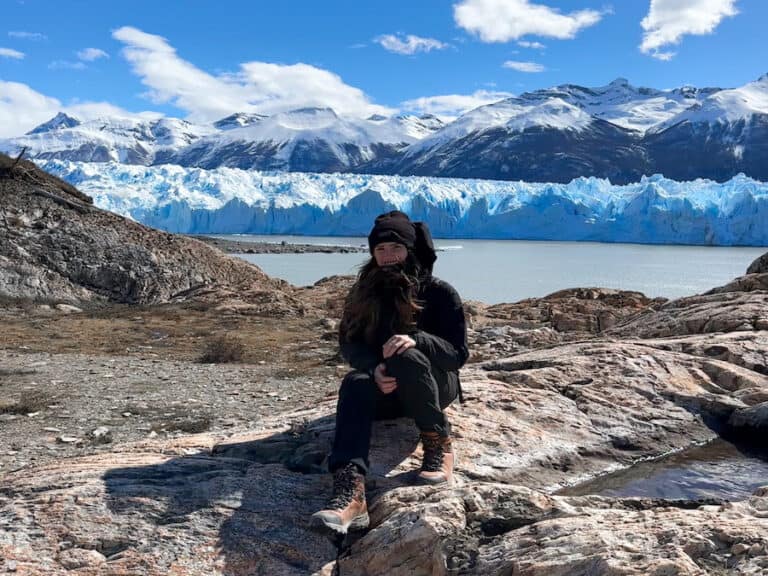
Believe it or not, one of Arthur’s worst sunburns was from a snowy hike in Patagonia. The snow reflects sunlight, intensifying its effects. Apply sunscreen to exposed skin, especially your face, to prevent sunburn.
Additionally, protect your eyes from harmful UV rays and glare by wearing sunglasses or goggles with UV protection. Even in winter, the sun’s rays can be strong, and the reflective snow surface increases the risk of sun-related skin issues.
Selecting Accessories for Comfort & Protection
Accessories can play a large role in your comfort when in winter conditions. Consider wearing gaiters to prevent snow from entering your boots, keeping your lower legs dry. You do not need them, but they are a great option if the snow is deeper than a few inches.
Hand and foot warmers can provide additional warmth during extremely cold conditions. A neck gaiter or balaclava protects your face from the cold wind, and trekking poles offer stability and support, especially on uneven terrain.
Testing Your Apparel Before Hitting the Trail
Before venturing on any extensive snowshoeing trips, try testing out your winter attire. This ensures that you are familiar with how your layers perform and that your gear is comfortable and functional. It’s better to identify and address any issues beforehand to avoid discomfort or safety concerns on the trail.
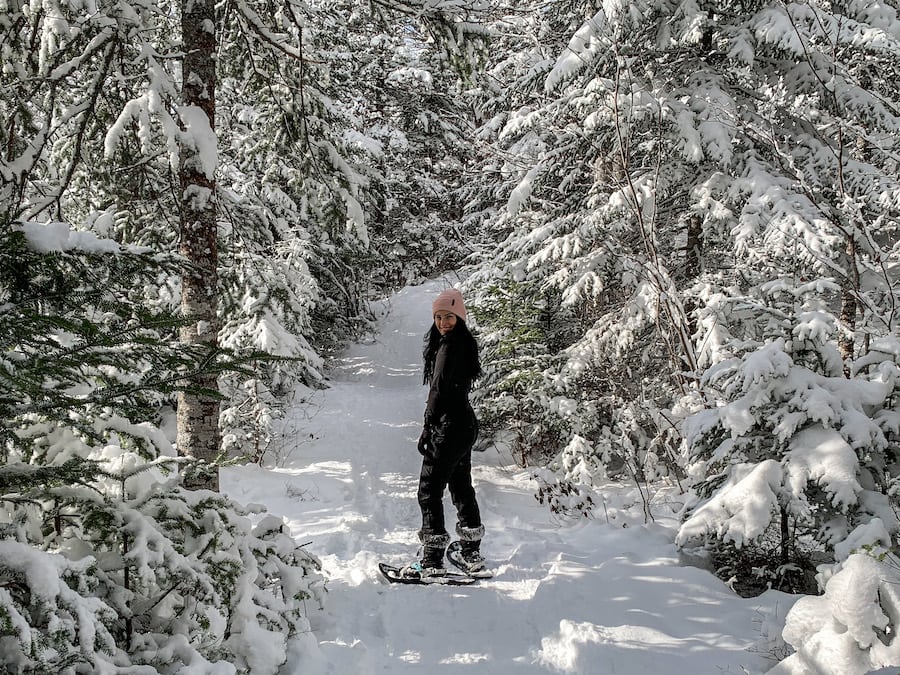
The Basics Of Snowshoeing For Beginners
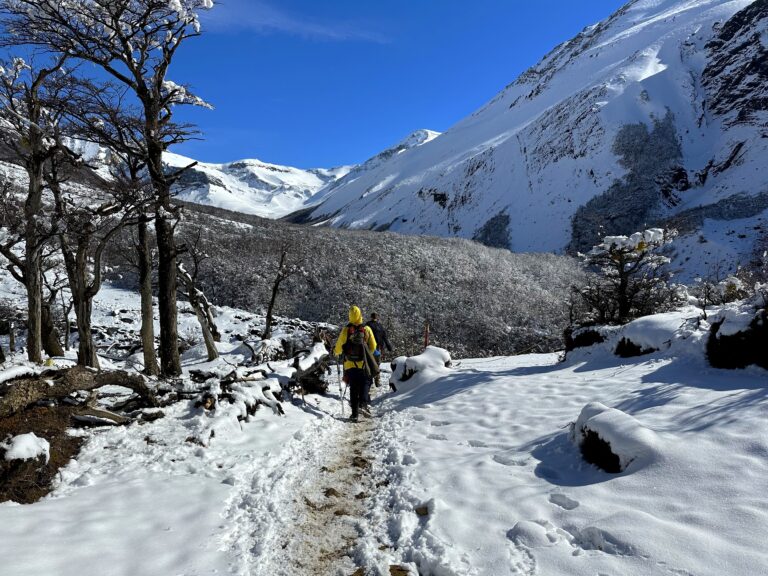
Now that you’re equipped, it’s time to learn how to walk in snowshoes. Start with short strides, keeping your feet parallel to avoid tripping. Use trekking poles for stability, especially on uneven ground. Embrace the unique walking style that comes with snowshoeing. As you gain confidence, experiment with different strides to find what feels most natural for you.
Navigating snowy terrain with snowshoes may seem straightforward, but mastering basic techniques enhances your efficiency and enjoyment. Whether you’re a beginner or looking to refine your skills, these fundamental snowshoeing techniques will have you confidently exploring winter landscapes.
Proper Stride and Walking Techniques
Wearing snowshoes for the first time can be a weird feeling. Many people are not used to the added weight and width on their feet. However, once you have them on, they are actually quite easy to maneuver.
Start by walking around in a parallel line in a park or flat area before heading out to any wilderness areas or isolated locations. Maintain a natural walk with your stance slightly wider than usual. Not much, but enough to prevent the shoes from hitting each other.
Uphill Techniques: Kick Steps and Sidehill Walking
For uphill climbs, use the “kick step” technique. This is when you dig the toe of your snowshoe into the snow, creating a step to push off from. This conserves energy and provides traction. On sidehill terrain, traverse slopes using a side-stepping technique. Keep your body perpendicular to the slope, using the inside edge of your uphill snowshoe for stability.
Descending Techniques: Glissading and Controlled Steps
When descending, use a series of controlled steps. Take wider, deliberate steps, planting the snowshoes fully to create a stable base. You can adjust your body weight slightly to the back and plant your heel down first. This helps to avoid falling and tripping when going down hills.
If the slope allows, try glissading, a controlled sliding technique that can be done either on your feet or bottom. Keep your weight centred, and use your trekking poles for balance. Ensure the slope is safe and free of obstacles before attempting glissading.
Navigating Varied Terrain: Packed and Unpacked Snow
Adjust your technique based on snow conditions. In packed or groomed snow, a more natural walking motion is suitable. In deep, unpacked snow, lift your knees higher to prevent tripping. Experiment with different techniques, adapting to the specific characteristics of the snow on your chosen trail.
Turning and Maneuvering
Turning in snowshoes requires a bit of practice. For sharper turns, pivot on one foot, using the snowshoe as a pivot point. For gentler turns, angle your feet and take small steps in the desired direction. Practice turning on flat terrain before attempting more challenging trails. You can also use your hiking poles as a guide to which direction you want to go by planting them first in the direction you want to go and using them to help turn and guide your body.
Understanding Snowshoeing Efficiency
Efficiency in snowshoeing comes from a combination of proper techniques and energy conservation. Use your poles to help propel yourself forward, engaging your upper body. In deep snow, lift your snowshoes slightly with each step to prevent dragging. Focus on a smooth, rhythmic pace to conserve energy over longer distances.
Practice and Patience
Like any skill, mastering snowshoeing techniques takes practice. Start on easy trails, gradually progressing to more challenging terrain. Take the time to become familiar with snowshoeing, and don’t hesitate to seek guidance from experienced snowshoers or join a group to enhance your skills. With practice and patience, you’ll navigate the winter wonderland with confidence in no time!
Trail Safety
Before heading out, check the avalanche forecast and be aware of the terrain. Stick to marked and popular trails to minimize the risk of injuries. Stay informed about the local snow conditions, and avoid areas prone to unstable snowpack. Always prioritize safety, and if in doubt, consult local authorities or experienced snowshoers for guidance.
Do You Need Trekking Poles To Snowshoe?
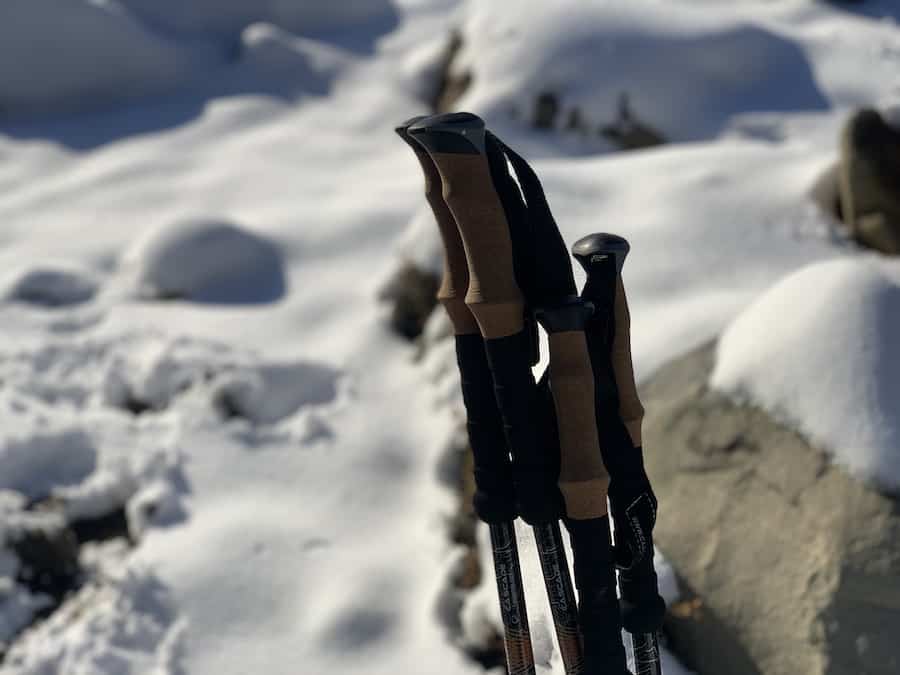
While trekking poles are highly beneficial, their use is a matter of personal preference. Some snowshoers prefer the added support and balance, while others may find them unnecessary. If you’re new to snowshoeing, consider trying poles on various terrains to see how they enhance your comfort and confidence on the trail.
Here is a list of reasons why having trekking poles can come in handy when snowshoeing.
- Stability and Balance: Snowshoeing involves navigating various terrains, from flat trails to steep slopes. Trekking poles provide added stability, helping you maintain balance and preventing slips, especially on uneven or icy surfaces.
- Reduced Strain on Joints: Snowshoeing can be physically demanding, especially on your knees and ankles. Poles help distribute the impact, reducing strain on your joints. This is particularly beneficial during descents and when traversing challenging terrain.
- Enhanced Endurance: By engaging your upper body, trekking poles turn snowshoeing into a full-body workout. They allow you to use your arms to propel yourself forward, making ascents more manageable and increasing overall endurance.
- Uphill Assistance: When tackling uphill sections, trekking poles provide support by allowing you to use your arms to push off the snow. This helps conserve energy and makes ascending slopes more efficient.
- Aid in Descents: During descents, poles offer additional points of contact with the snow, improving stability and control. You can use them to create a wider base, especially when navigating steeper slopes or managing changes in terrain.
- Terrain Assessment: Trekking poles are useful for probing the snow and assessing its depth and consistency. This can be important for identifying potential hazards beneath the snow, such as rocks or uneven terrain.
- Emergency Use: In case of unforeseen circumstances, trekking poles can serve as essential tools. They can be used to build a makeshift shelter, probe the snow for safety, or even serve as an improvised splint in case of injury.