How To Prevent Blisters When Hiking
Blisters can make or break your hiking adventures. If you have ever had a blister on a trail, you know how hard it is to keep going as every step aggravates and irritates the area. The best way to prevent blisters is to understand what causes blisters so you can take the right preventative measures to decrease the chances of getting them.
In this article, we will take a closer look at what causes blisters, how to spot the signs of a blister forming, how to choose the right gear, proactive ways to prevent blisters and how to treat blisters in the unfortunate event that you do get one (let’s be honest, what hiker hasn’t had a blister before?)
Disclaimer: This article includes affiliate links. If you click one of them, we may receive a small percentage of the sale at no extra cost to you. Thank you for your support!
Medical Disclaimer: We are not registered medical professionals. The following content is for informational or educational purposes only and does not substitute professional medical advice or consultations with medical professionals.
What Causes Blisters?
Blisters, those painful fluid-filled pockets, can quickly turn a promising hiking trip into an uncomfortable experience.
The two main causes of blisters are friction and moisture. As you hike through various terrains, your feet undergo repetitive motion, causing them to rub against your socks and footwear. This friction generates heat, leading to irritation and eventually blister formation. Adding moisture to this equation, either from sweat or wet conditions, significantly increases the risk of blisters forming.
The following signs are some of the first indicators that a blister might be forming:
- Feeling localized warmth or irritation on specific areas of your feet.
- Noticeable red patches on the skin, often signalling increased friction or pressure.
- A tingling or burning sensation on certain parts of the foot.
- Increased sensitivity or discomfort when walking
- Pain or tenderness in specific areas.
- Changes in skin colour, such as pink or irritated patches.
- Swelling in localized areas, particularly where the friction is occurring.
- Feeling excessive moisture or dampness inside your socks or footwear.
- The skin may feel softer or more delicate than usual in areas prone to blister formation.
- The sensation of tightness on the skin surface.
How To Choose The Right Gear
Now that we know that friction and moisture are the main causes of blisters while hiking, it’s time to look at how we can tackle this by choosing the right gear.
Choosing The Right Footwear
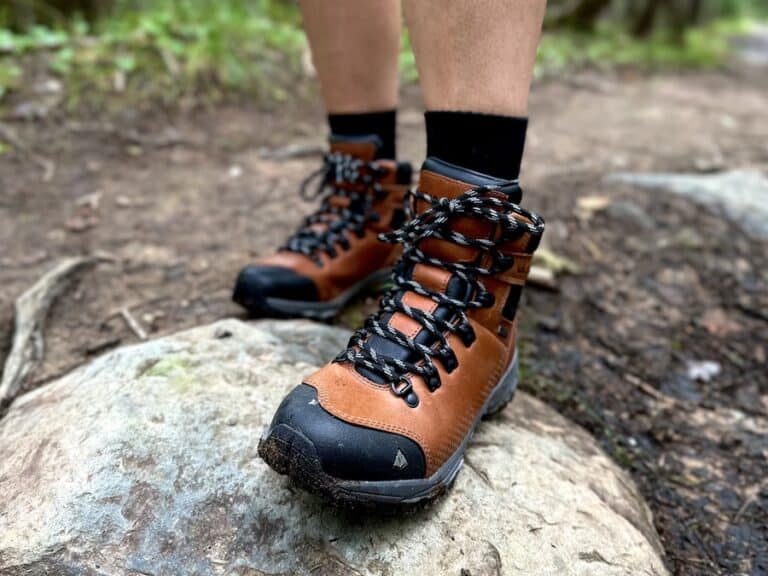
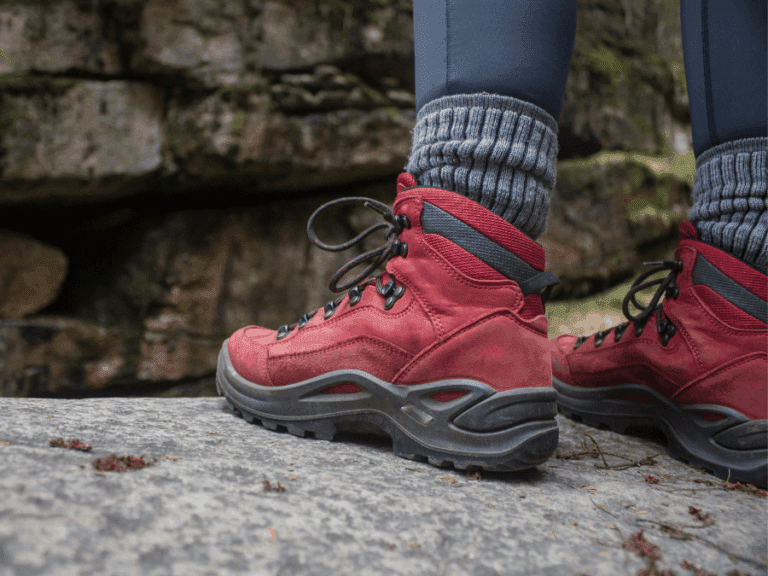
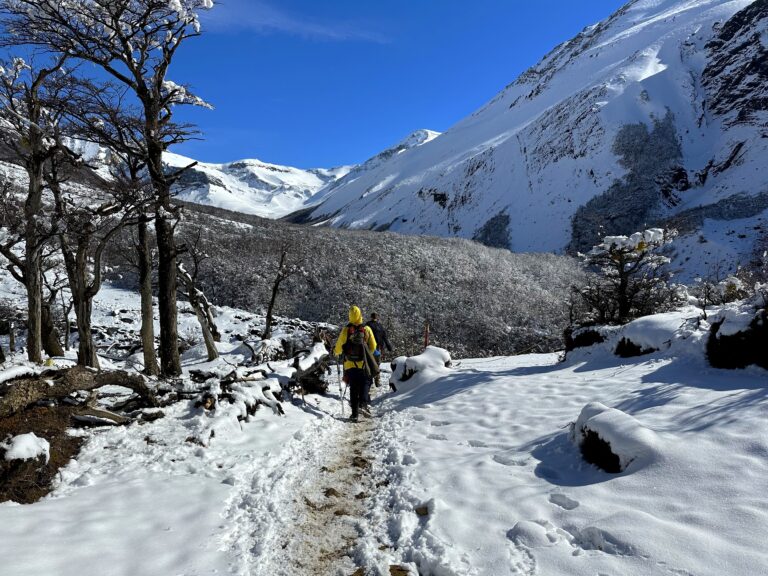
Investing in the right footwear is the first step in preventing blisters. Ill-fitting or worn-out shoes can significantly increase friction, leading to painful blisters. Ensure your hiking boots provide proper support, have enough room for your toes, and are made from breathable materials. Make sure to break in new hiking boots before venturing on a long trek allowing the materials to adapt to your feet, minimizing friction-induced irritation.
Whether you choose a hiking shoe or boot, it will all come down to the type of terrain, length of hikes and personal preference. Either or, they should fit snugly and ensure they are the right size, for comfort and to avoid slippage. Your hiking footwear should also be breathable, ideally water-resistant and have the right support.
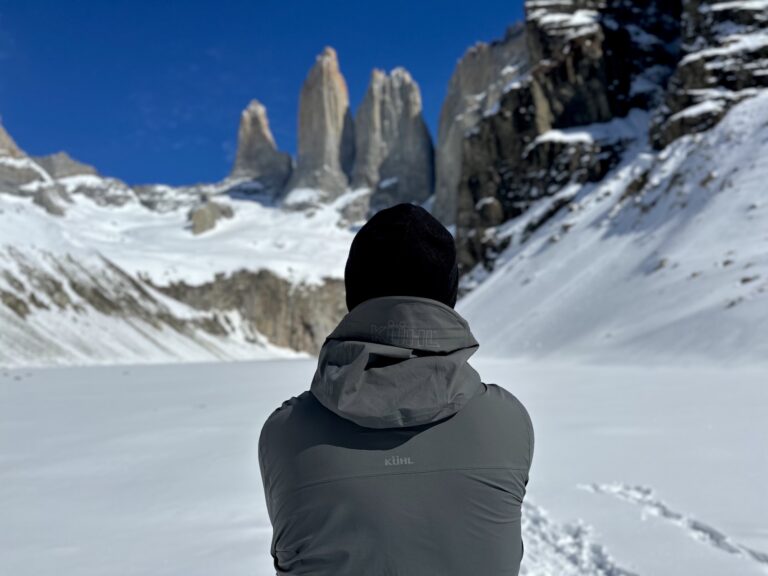
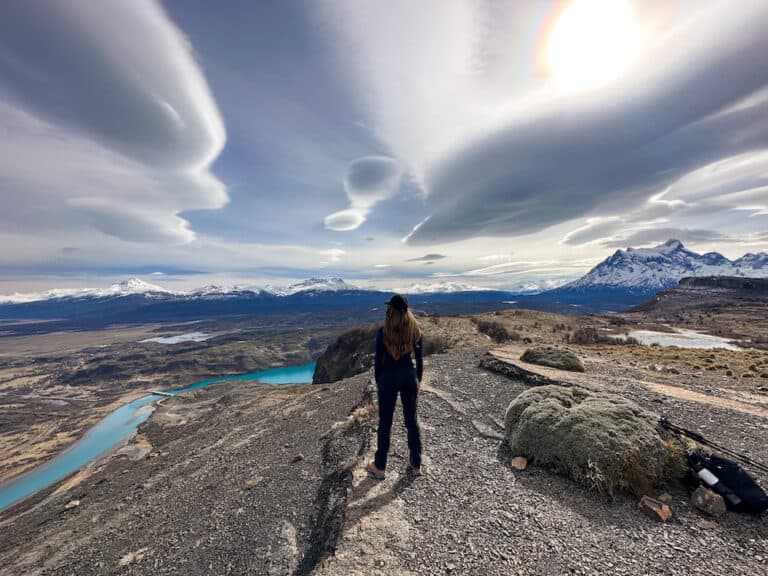
Personally, my go-to hiking boots are the Vasque St. Elias and Arthur’s are the La Sportiva Trango. We hiked over 50+ kilometres through Torres del Paine in both dry and wet conditions and not once did we get any blisters! We should note that leather hiking boots do take longer to break in and should be worn on shorter trails to adjust before doing any overnight or long-distance hiking.
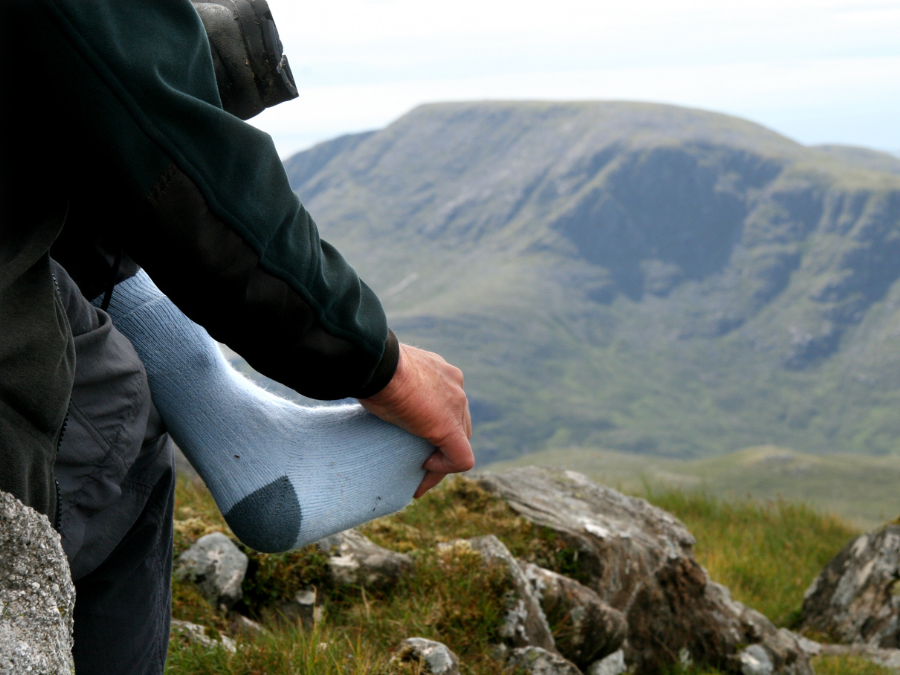
Choosing The Right Socks
Socks play a pivotal role in blister prevention. Opt for moisture-wicking or merino wool socks to keep your feet dry, minimizing the chance of blisters caused by excessive moisture. Consider wearing a thin liner sock underneath a thicker hiking sock to reduce friction. Changing socks during a long hike can also refresh your feet and prevent moisture buildup. Investing in quality socks may seem small, but it can make a significant difference in your hiking comfort.
When picking hiking socks, look for ones that have extra cushioning in areas prone to hot spots, wick moisture and quick drying such as the Darn Tough Hiker Micro Crew Midweight Sock with Cushion.
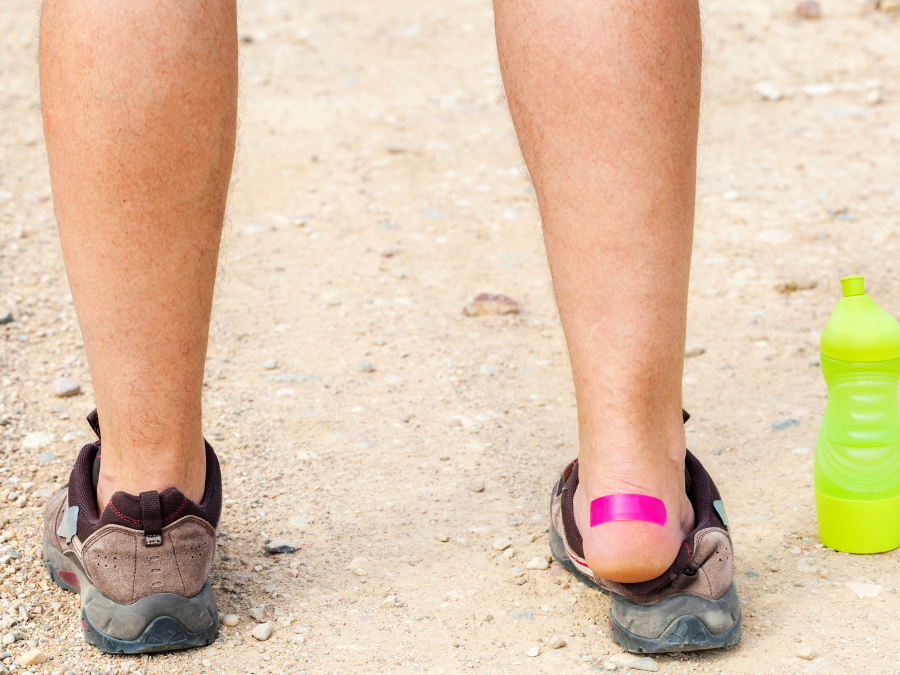
Proactive Ways To Prevent Blisters
Implementing proactive foot care measures during your hike can help ward off blisters. Do not wait for the blister to form before acting on it. Once the blister is there, it can make the rest of the hike agonizing. Along with wearing the proper gear, here are some other ways you can reduce the chance of blisters.
- Regularly check your feet for hot spots or areas prone to blister formation.
- If you feel irritation, stop and address it immediately using a moleskin, blister pads or athletic tape. These can provide a protective barrier on any potential problem areas.
- Adjust your lacing technique to relieve pressure points, which can contribute to overall foot comfort and blister prevention.
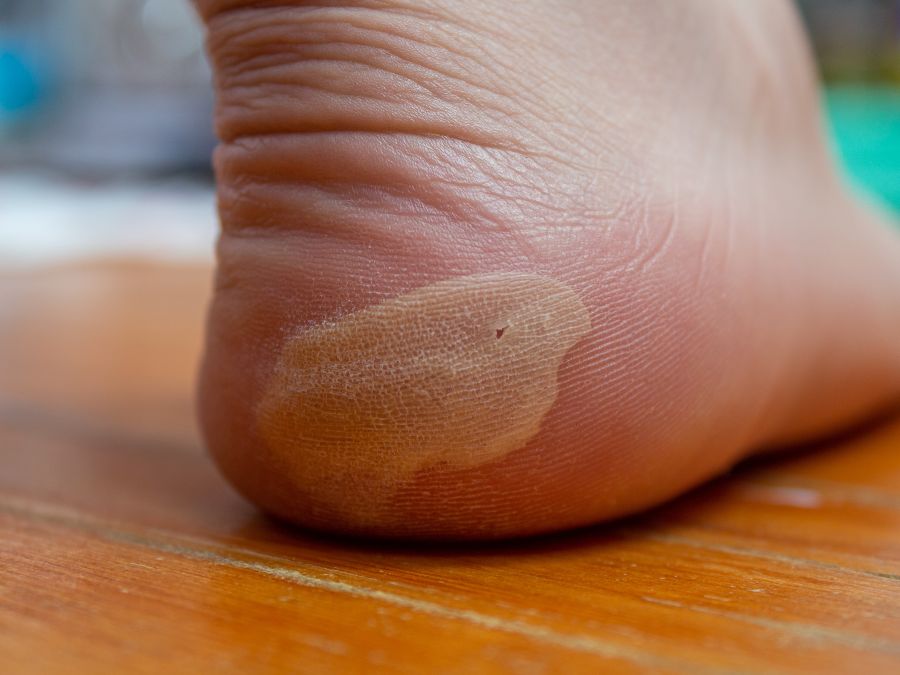
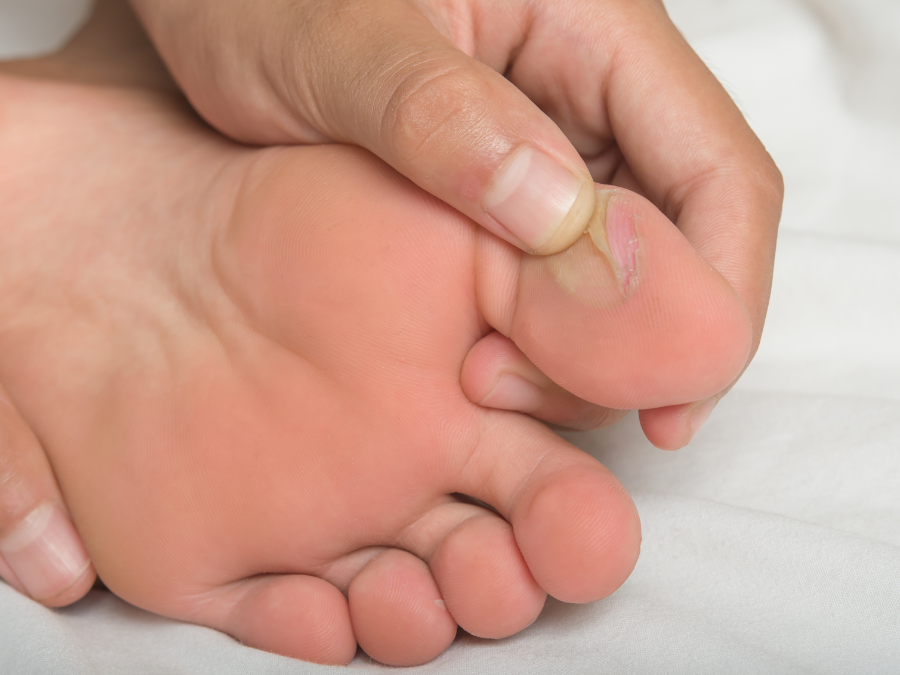
How To Treat A Blister
As mentioned above, if you feel a blister coming on it is important to apply one of the following three padded protections to help reduce pain and friction on the potential blister.
Moleskin: Known for its thick and soft texture, provides a protective layer between your skin and the shoe, reducing friction and preventing blister formation
Blister pads: Typically made of hydrocolloid material, offer cushioning and absorb excess moisture, promoting a healing environment for existing blisters while preventing new ones. Its thick and soft texture, provides a protective layer between your skin and the shoe, reducing friction and preventing blister formation.
Athletic tape: When applied correctly, can act as a barrier against friction and provide support to areas prone to blister development