Guide To Mirador Las Torres Hike In Torres del Paine
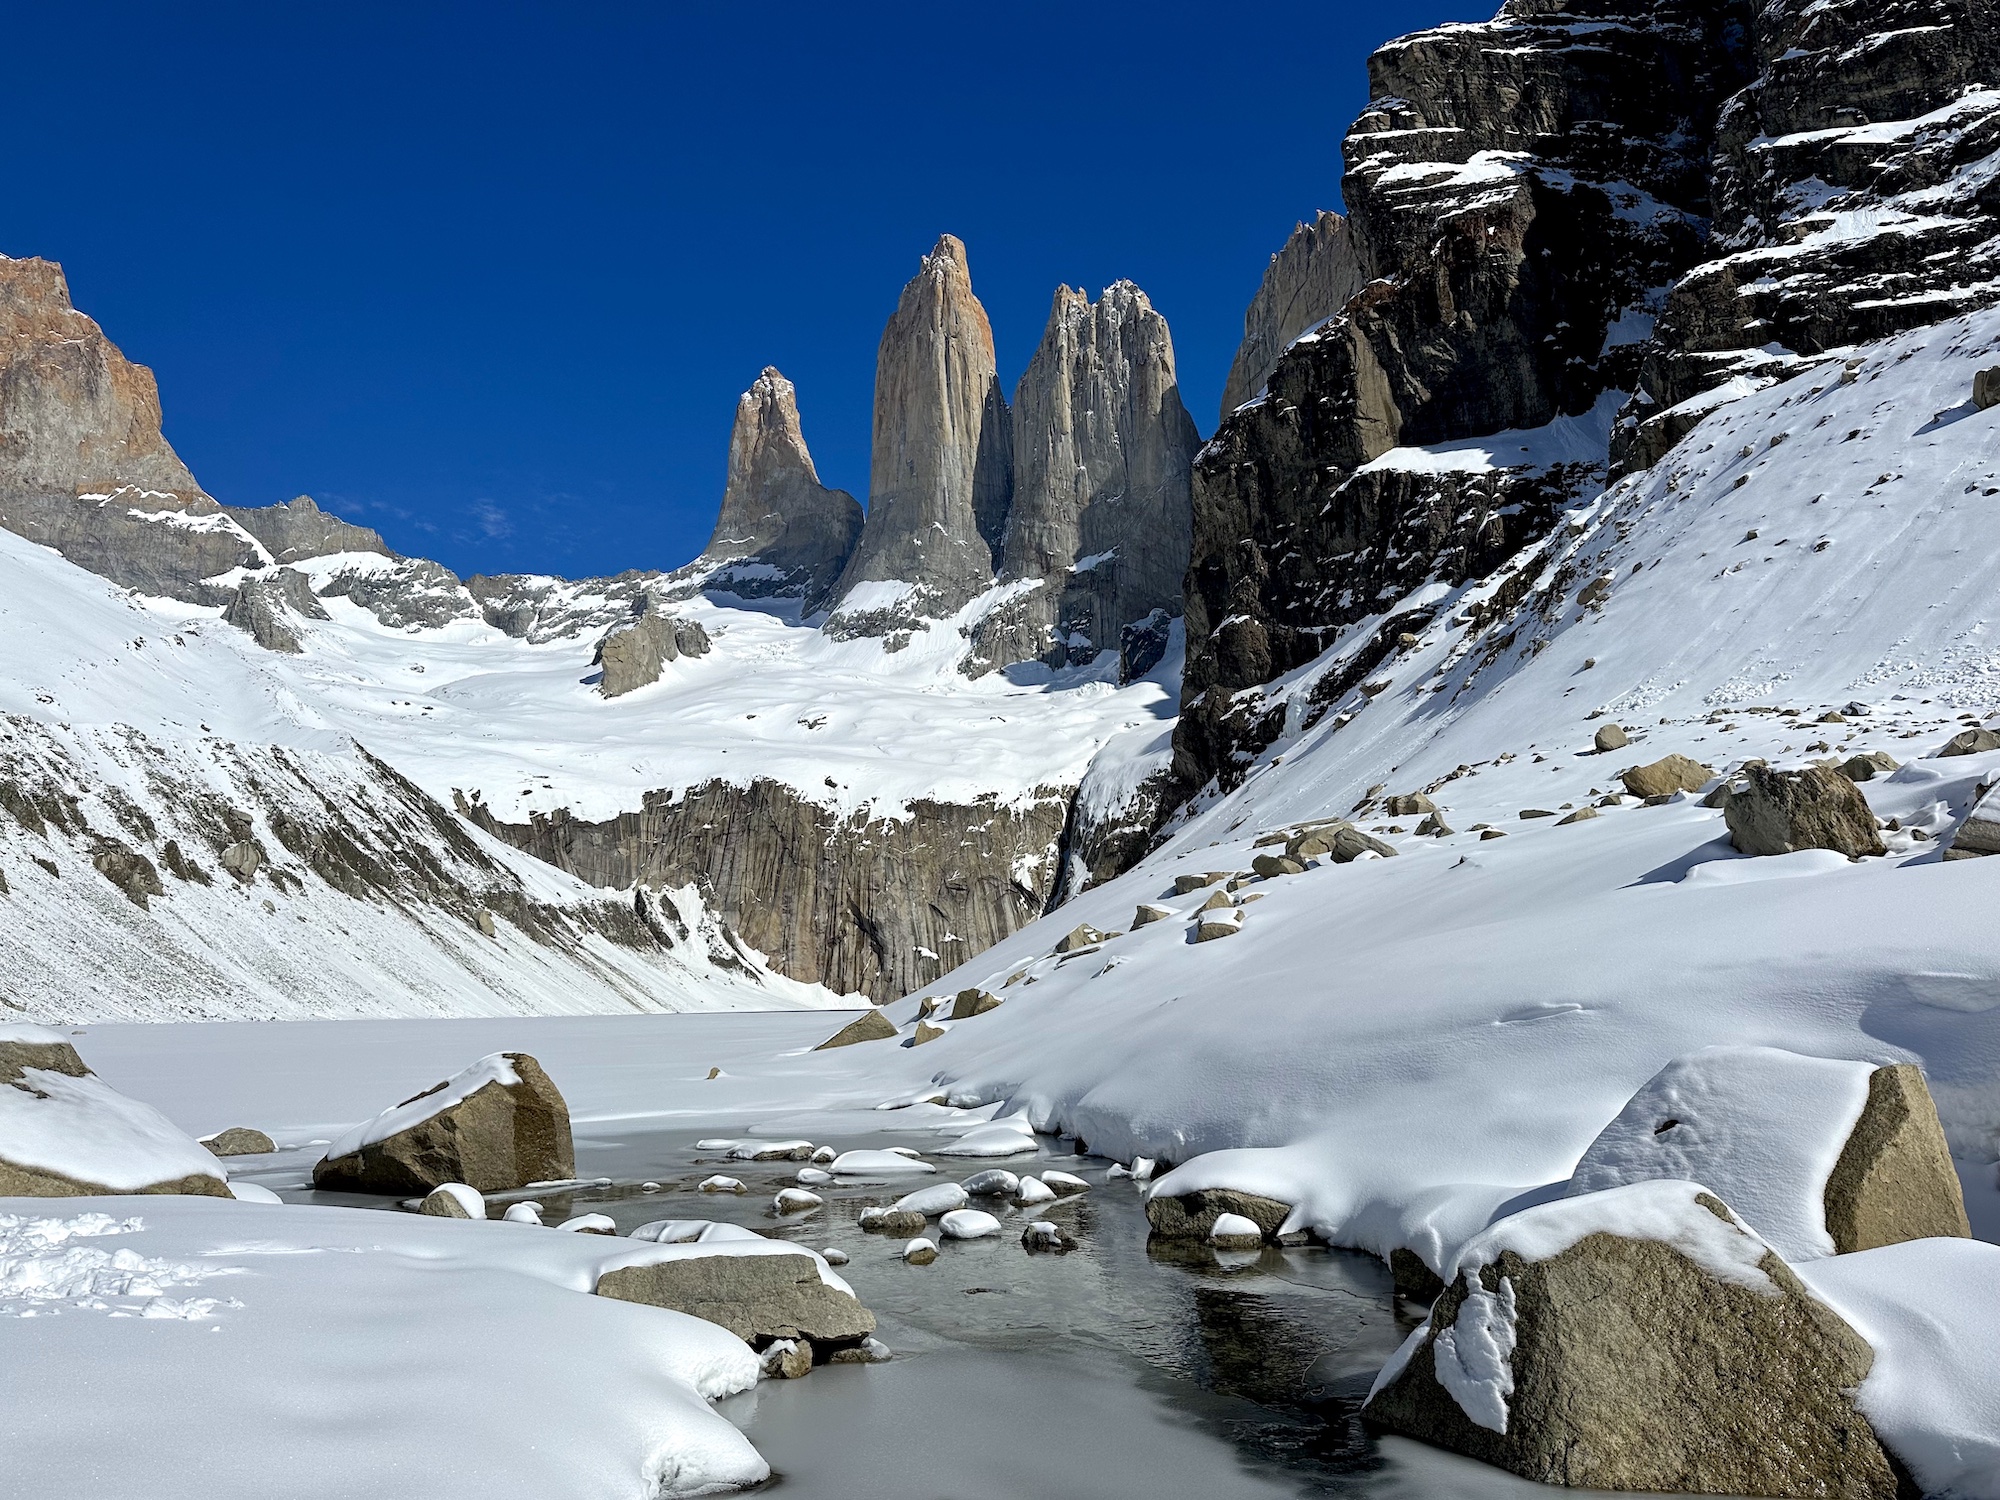
No trip to Patagonia can be considered complete without hiking the must-do trail to Mirador Las Torres, also known as Base Torres. This remarkable hiking experience takes you on an exhilarating and challenging trek through three distinct terrains, leading to the iconic trio of granite peaks that overlook Lake Torres. As an integral part of the famed W and O Treks within Torres del Paine National Park, Mirador Las Torres beckons adventurers to embrace the challenge, bask in the beauty, and create memories that will last a lifetime.
Difficulty: Hard
Length: 24 km (roundtrip from EcoCamp)
Suggested Duration: 8-10 hours
Signage: Signs throughout
Facilities: Washrooms, food, water and shelter at Refugio Chileno
Disclaimer: This article includes affiliate links. If you click one of them, I may receive a small percentage of the sale at no extra cost to you. Thank you for your support!
Key Features Of Mirador Las Torres
- Located in Patagonia’s Torres del Paine National Park
- Iconic views of the three granite peaks (also called the Paine Horns) and Lake Torres
- Hike through three different terrains
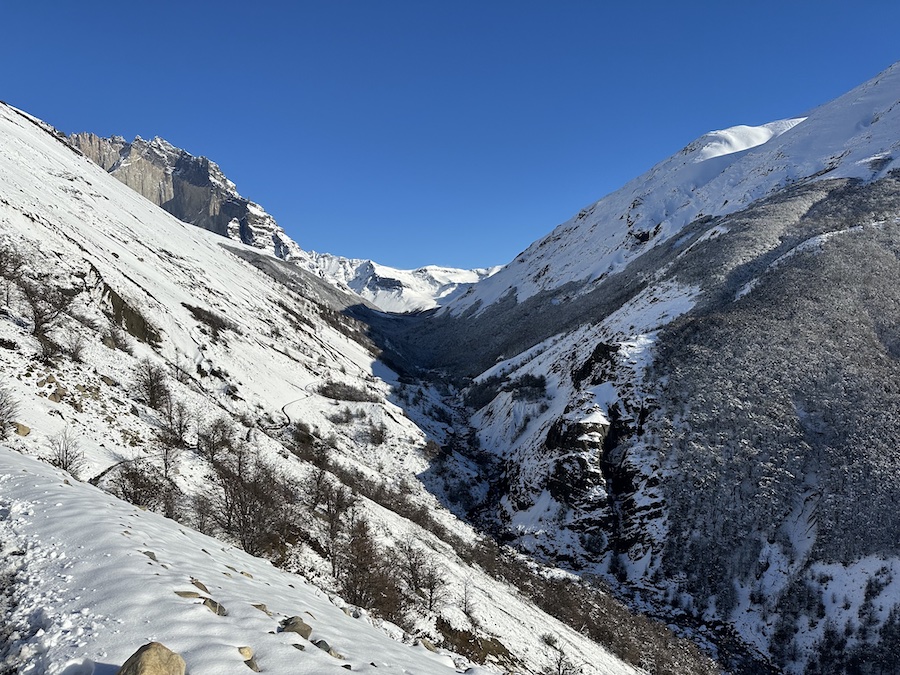
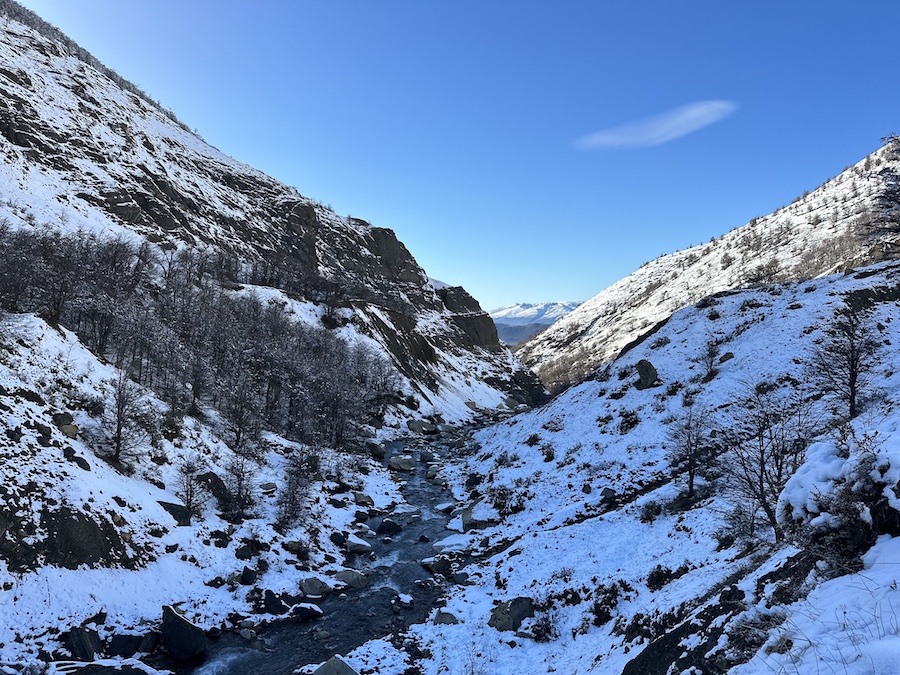
- Breathtaking views throughout the trail of Patagonian wilderness
- Part of the renowned multi-day W and O Treks
- Can be completed with or without a trekking guide
- Opportunities for wildlife sightings
Facilities And Services
- Washrooms, snacks, shelter and water at Refugio Chileno (washrooms cost 1000 Chilean pesos)
Before You Start Hiking Mirador Las Torres
There are a few things you should note before hiking Mirador Las Torres to ensure you make the most out of your hike and are well prepared. This hike is challenging, yet worth it to see the remarkable base of the towers!
The hike to Mirador Las Torres can be completed either with or without a hiking guide. While not required, a professional trekking guide can provide valuable information about the history, flora and fauna along the trail. It’s worth noting that this trail is part of two popular multi-day hikes: the W and O treks.
Depending on the season and weather conditions, visitors staying outside the park will have to check in at the park entrance. In order to ensure your safety, park rangers will check your gear, including crampons and hiking poles. If you don’t have them, you risk being turned away. It’s important to note that the last kilometre of the trail is steep and may be covered in snow and ice, which can be dangerous if you’re not properly equipped.
While hiking Mirador Las Torres is free, there is a fee to enter the Torres del Paine National Park if you are not going with a guide or through a hotel within the park. A regular entrance ticket will last for three consecutive days, so you can come and go within the park as you please. There are other options for those looking to visit the park for more than three days. Please note that the prices are subject to change due to the exchange rate and year. As of October 2023, the fees are as follows.
| Up To 3 Days | CPL | USD |
| Children Under 12 years old | Free | Free |
| Teenage (12-17 years old and people with disabilities) | $16 000 | $20 |
| Adult (18 years +) | $31 200 | $39 |
| More Than 3 Days | CPL | USD |
| Children Under 12 years old | Free | Free |
| Teenage (12-17 years old and people with disabilities) | $44 500 | $55 |
| Adult (18 years +) | $44 500 | $55 |
We did this hike while staying at EcoCamp, located within Torres del Paine National Park. The price of the National Park was included in our stay, and therefore, we did not have to pay any additional entrance fees. If you stay at EcoCamp, you complete this hike with a trekking guide and fellow hikers. They will provide hiking poles and crampons on the morning of the hike. However, it doesn’t hurt to bring your own. Although we brought our own equipment, we ended up using the camp’s crampons as they were sturdier than ours.
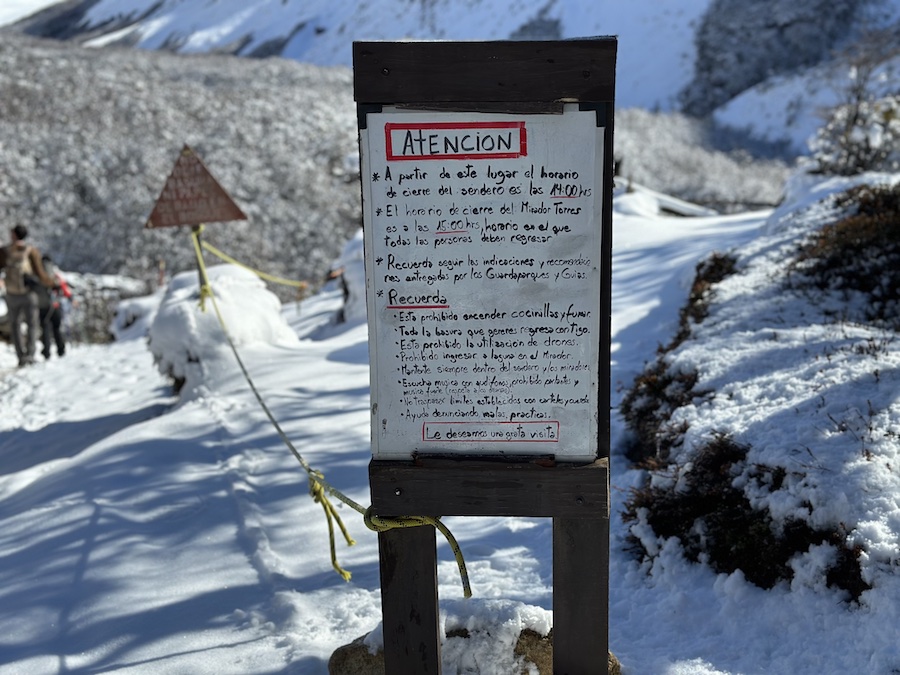
When hiking the trail to Mirador Las Torres, there are rules to follow. Here is a translation of the rule sign that can be found along the trail.
- From this place, the closing time of the trail is 2:00 PM.
- The closing time of the Torres viewpoint is at 3:00 PM, the time when all people must return from the lookout.
- Remember to follow the instructions and recommendations given by the park rangers and guides.
- Stoves and smoking are prohibited.
- Bring back all garbage that you take with you – leave no trace behind.
- Drone usage is prohibited.
- Entering the lagoon at the viewpoint is not allowed.
- Stick to the designated trails.
- Speakers and loud music are not allowed. Please use headphones.
- Report any signs of bad practices.
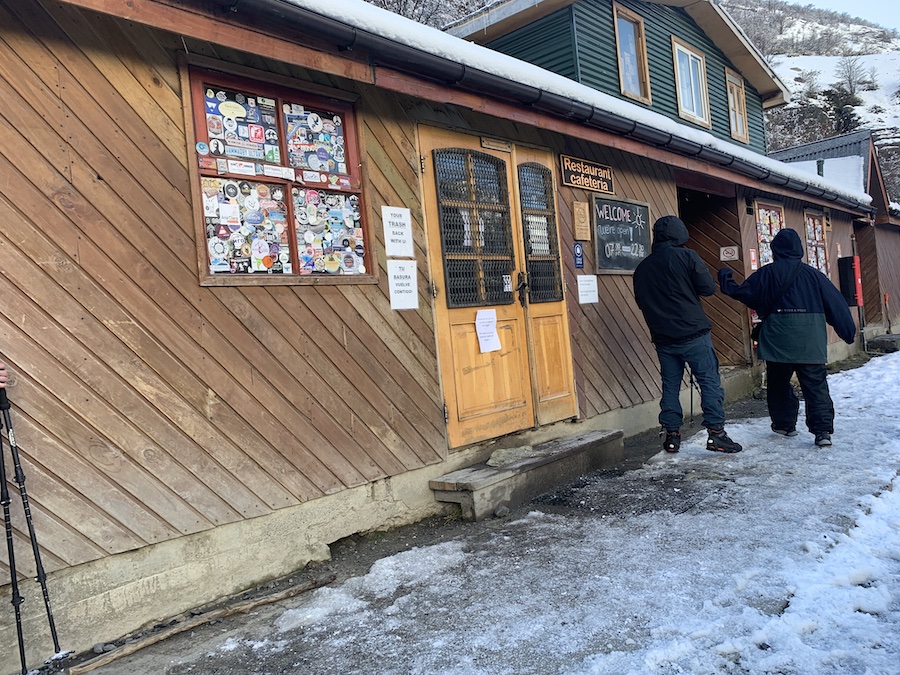
Refugio Chileno is located midway to the lookout and serves as a convenient stop for trekkers. You can take a break here, purchase snacks or water, use the restrooms (at the cost of 1000 Chilean Pesos), and put on your crampons. It’s a popular overnight stay option for people completing the W or O trek. However, if you plan to spend the night, make sure to book your spot well in advance, as they tend to fill up quickly.
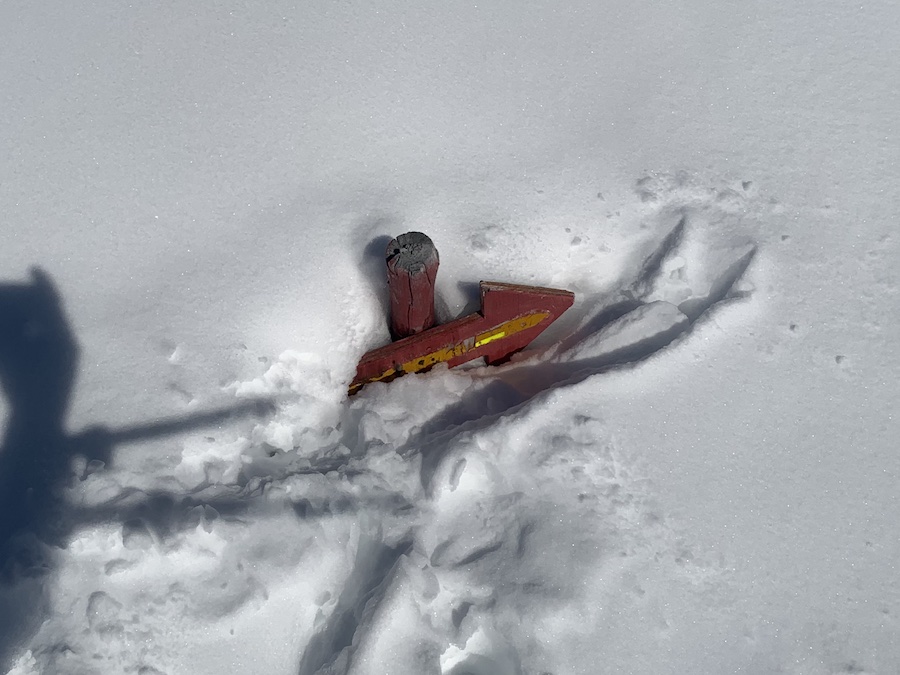
The last part of this trail is quite steep (500-meter elevation with a kilometre), so it’s important to watch your footing and be careful. If the trail signs are completely covered in snow, and you can no longer see them, it’s an indication that it’s not safe to continue to the lookout.
In the photo below, you can see the trail sign that’s around 15 minutes away from the Base Torres. The top of the sign is just visible, so we were able to continue onward. However, the day before, the sign was completely buried, and the hikers had to turn around as the snow was up to their knees.
Our Experience Hiking Mirador Las Torres
As mentioned, we completed this hike while staying at EcoCamp, so our experience may be a bit different than yours (unless you plan to stay there, which we highly recommend)!
Our day started with early morning breakfast (6:30 AM), packing our lunches, and testing out our crampons to ensure they fit properly. We aimed to begin the hike before 8:00 AM. Before leaving, we introduced ourselves to our two trekking guides for the day, Flo and Dani.
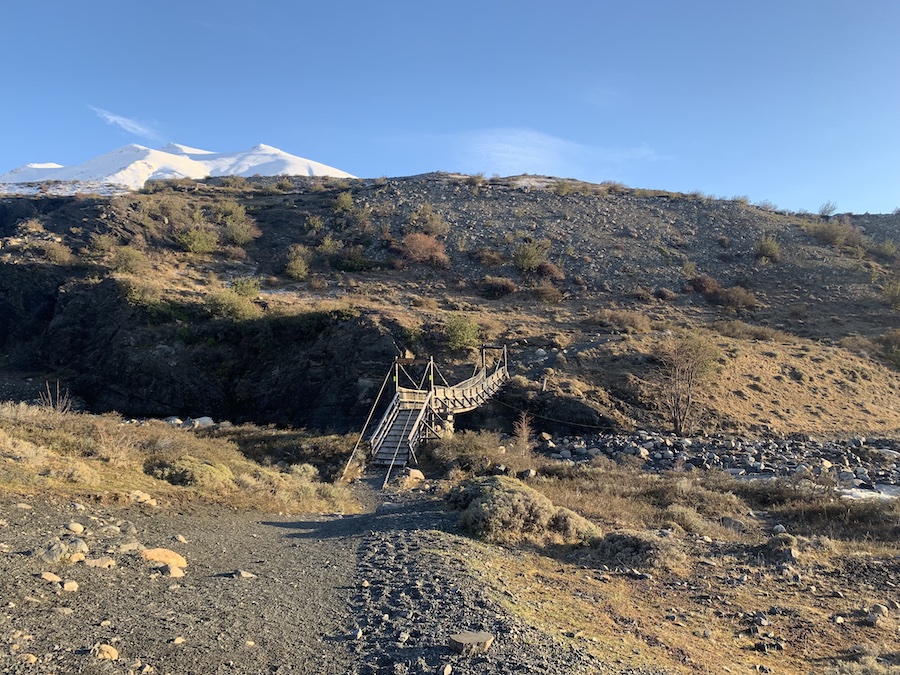
The hike begins at EcoCamp on a wide, well-maintained path that leads into Las Torres a Chileno. This is an excellent way to warm up the body before starting the climb to Mirador Las Torres. During the hike, we crossed several rivers via swinging bridges. This part of the trail is mostly flat and easy to follow. It looked very different, covered in snow the day before when we took this path to reach Las Torres a Los Cuernos.
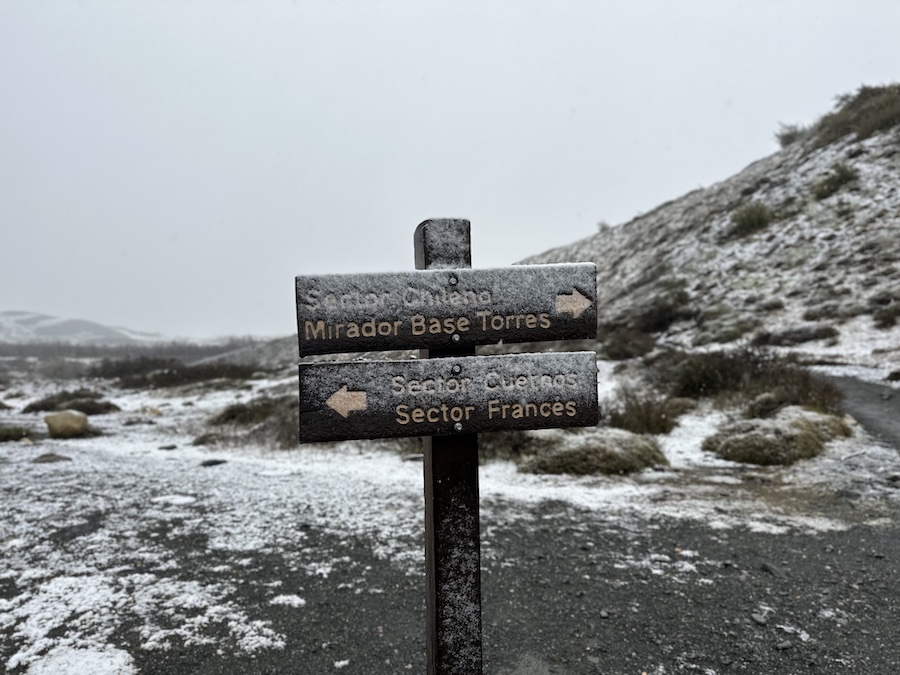
After travelling approximately 2.5 km, we arrived at the fork in the road. To the left is Sector Cuernos and Sector Frances, while to the right is Sector Chileno and Mirador Base Torres. Here is a photo of the previous day’s signs, which were taken in snowy conditions.
Here began the fun part! You can think of this hike as being divided into three sections: the initial climb, Windy Pass/the forest and the final climb, which is also the hardest and steepest part of this hike.
The initial climb definitely got our hearts racing, with our trekking guide, Flo, setting a great pace. This part is around 320 meters of elevation gain in 2 km. When we got to the top of this incline, we took a quick water break and shed some layers. You quickly warm up with the sun beaming down on you. This section had little to no sun shelter. As per our guide’s suggestion, we decided to put our crampons on here rather than at Refugio Chileno, as the trail was snowy from the day before.
As we continued onward, we reached Windy Pass. This portion of the trail is Patagonia flat, meaning smaller inclines, declines and few flat areas but nothing overly strenuous. It is a nice break from the harder inclines, and you can really make great time along this section. Not to mention the views are absolutely beautiful!
Note that on windy days, hikers are advised to bring warm layers and hats, as there is limited shelter from the wind during this part of the trail. However, we had little to no wind, so for us, it was not an issue.
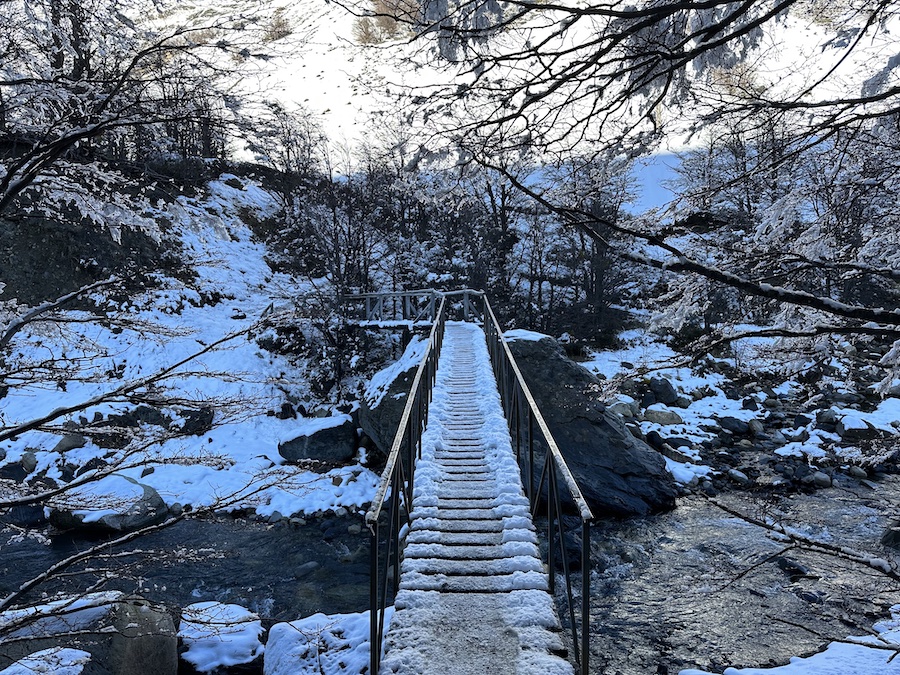
After a short while and a bridge crossing, we reached Refugio Chileno. Here we took a quick water and snack break. Typically you can use the washrooms here (it is the only washroom on the trail, but you can also use the facilitrees (aka mother nature) whenever you need to). However, the water was completely frozen, so the washrooms were closed when we arrived.
Here are a few photos from Refugio Chileno and the bridge leading up to it.
Past Refugio Chileno, you will begin hiking into the forest. Here is where your crampons and hiking poles come in handy. Hiking through the forest is not hard; in fact, it is quite relaxing and a nice break from the beating sun. As you can see in the photos below, crampons come in handy for the icy portions of the trail.
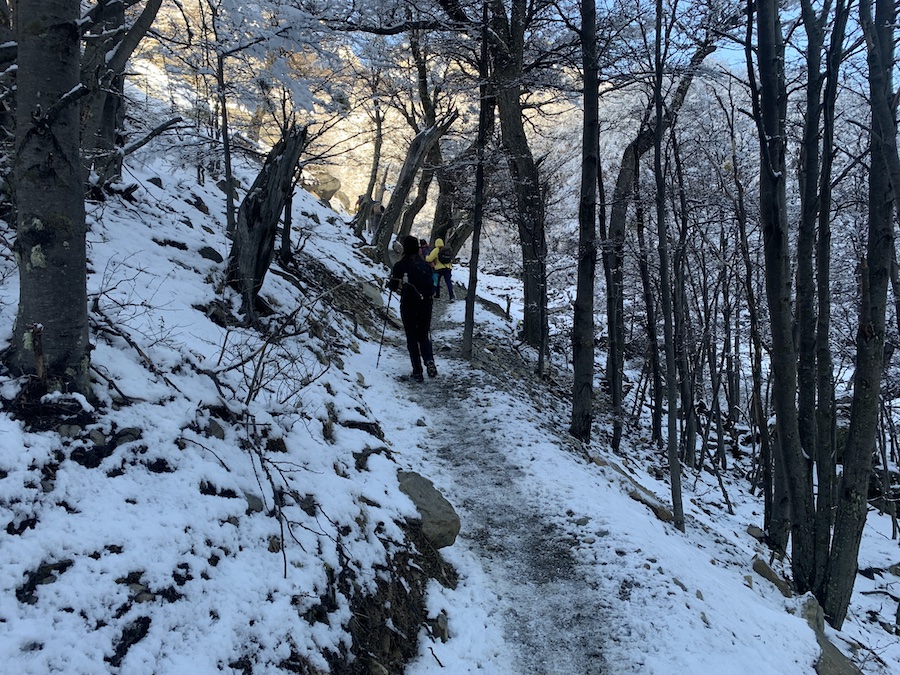
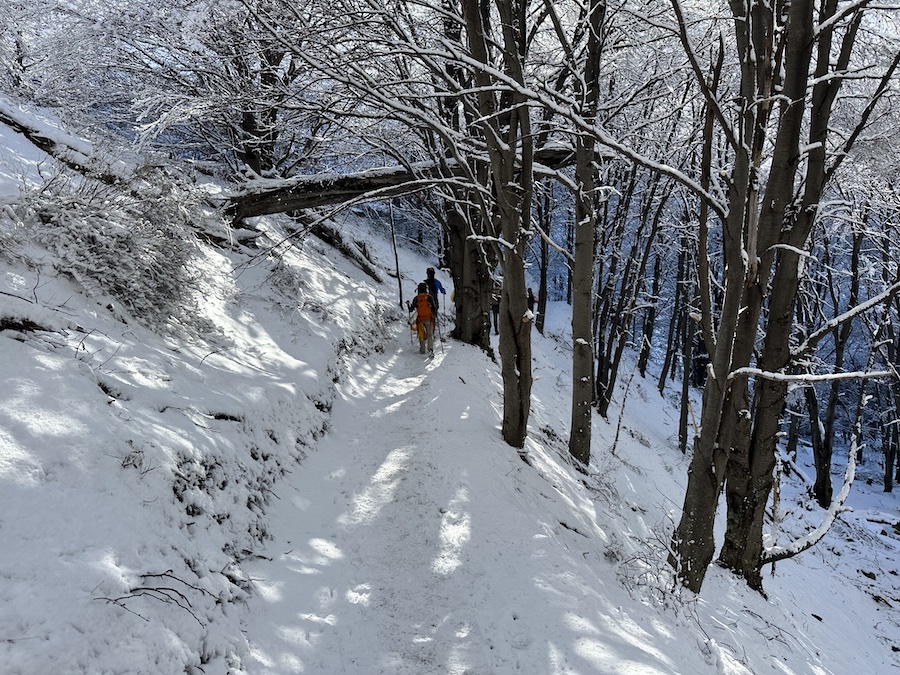
After around 3km of hiking through the forest, we reached the third section of the trail: the final climb!
This climb is no joke. It is around 500 meters of elevation gain in a little over a kilometre. It is steep and challenging but completely doable. Take your time, go at your own pace, and again, use hiking poles and crampons the climb as it was quite rocky.
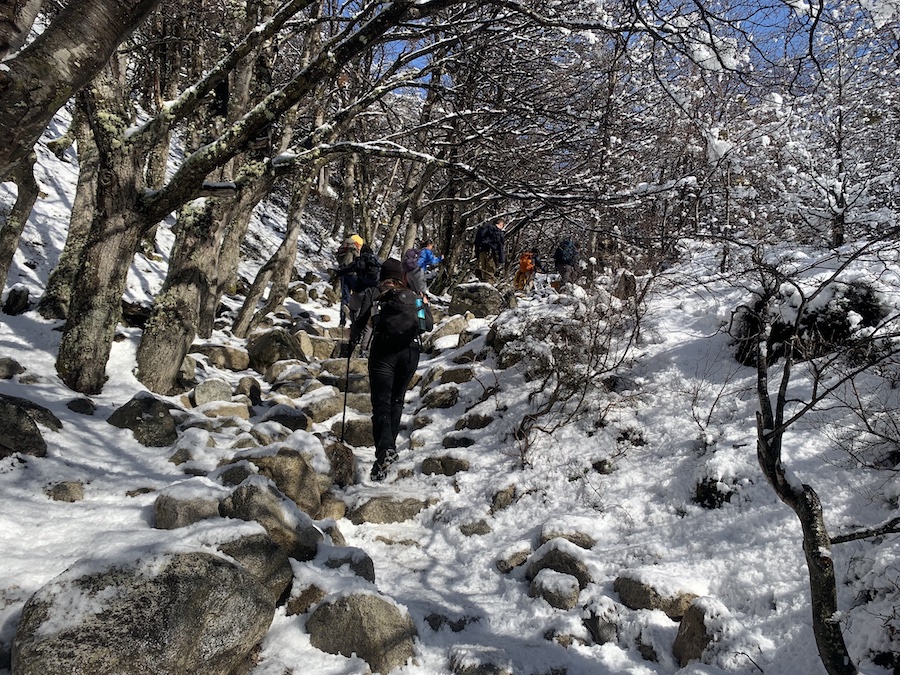
Once we passed the rocky portion, we had to cut across the mountain. Because of the snow, the path was buried, and hikers had to go single file. This is where we saw the trial sign almost completely buried (pictured in the before you go section). Unfortunately, there were a few hikers we saw turn around at this point because they did not bring crampons and ultimately didn’t feel safe crossing.
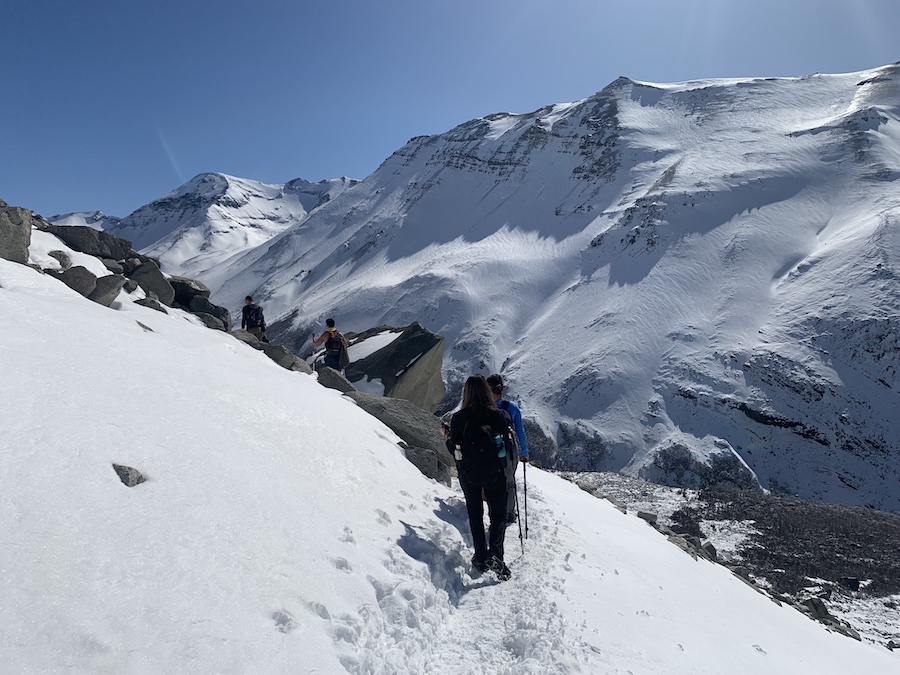
After successfully navigating around the mountain, we finally caught sight of the three horns, which made the demanding climb totally worth it. Surprisingly, there weren’t many people at the lookout point, and the wind was minimal, so we decided to take a 30 to 40-minute lunch break to fully appreciate the stunning views.
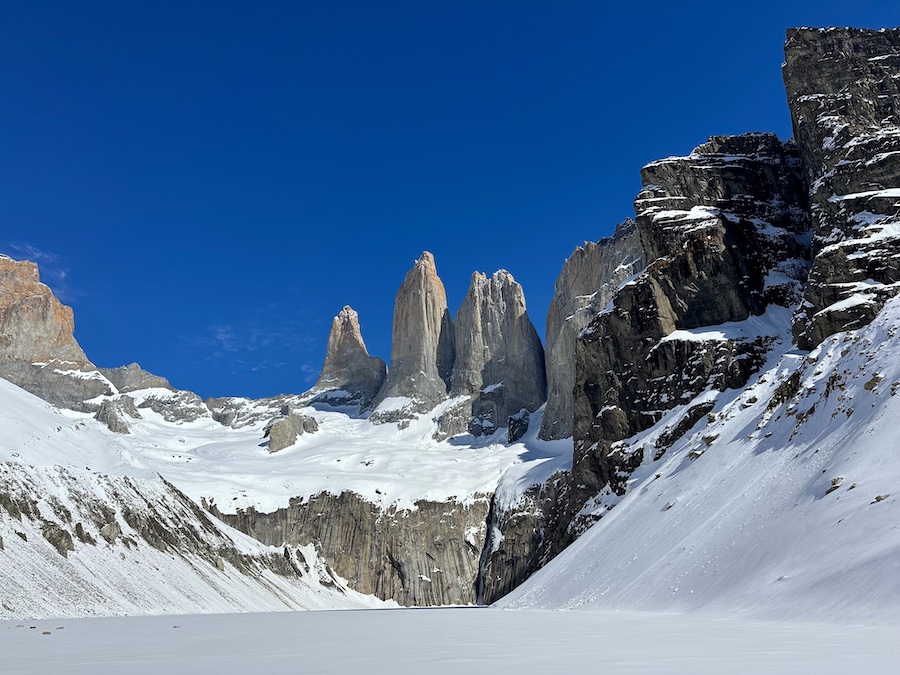
After our lunch break, we packed up all our gear and garbage and made our way back to EcoCamp. The way down went much faster. By the time we started our descent, the snow was already starting to melt, making it a bit slushy and even more slippery than before. This eventually turned to mud past Refugio Chileno.
On the way day, you’ll get to see incredible views of Lake Nordenskjöld that you didn’t get to see on your way up (unless you kept turning around to admire it).
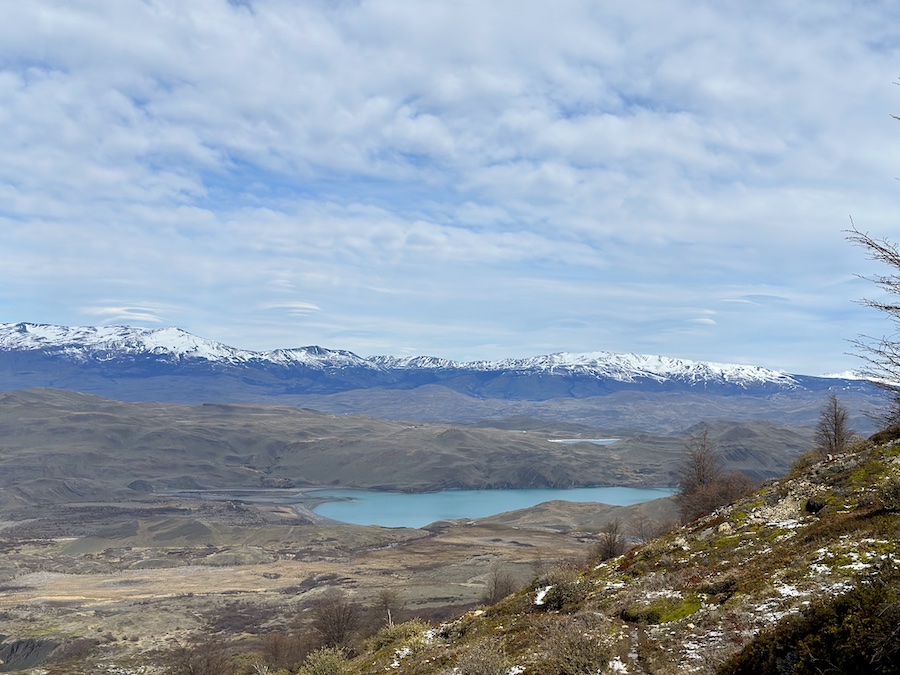
For those staying at EcoCamp, there will be one last incline before you get to relax. There is a small hill to get back up to EcoCamp, which is nothing compared to the inclines of Mirador Las Torres!
Honestly, this was one of the best and most challenging hikes we have ever done, and we would do it all over again if given the opportunity!
Checklist And Recommended Gear
The following is our recommended gear when hiking Mirador Las Torres.
- Water bottle
- Water-resistant shoes/boots – Women’s // Men’s
- Camera/Phone to take photos
- Crampons
- Lunch/snack
- Sunscreen
- Warm hat & sun hat
- Sunglasses
- Lots of layers (Patagonia weather is always changing, and the winds can be quite strong. We suggest a base layer, fleece and water and wind-resistant jacket. For bottom layers, wear a base layer and water-resistant hiking pants)
- Water-resistant jacket
- Neck gaiter
- Binoculars (birdwatching and spotting other fauna)
- Gloves
- Leg gaiters
- Moleskin
Related Hikes
OTHER HIKES IN TORRES DEL PAINE NATIONAL PARK
- Lazo Weber
- Los Cuernos Trek
- Paine Grande To Grey Glacier
- French Valley
- W Trek
- O Trek

